
I decided to change the recipe a bit and do a ham and cheese version, since I tend to prefer my pig in ham or tenderloin form instead of bacon. I wish I could have bottled the smell of this bread baking. Within the first 10 minutes, the entire house filled with the delicious aroma that had husband asking every 5 minutes if it was time to eat. It smelled THAT good.

Here's what you need
2 Tablespoons granulated yeast
3 cups lukewarm water
5.5 cups bread flour (plus more for dusting)
1.5 Tablespoons kosher salt
1 large (.75 lb) fully cooked ham steak, diced
8 ounce block extra sharp cheddar cheese (shred yourself)
1 Tablespoon butter
Yellow Cornmeal
The original recipe called for 10 slices thick cut bacon (diced), if you prefer to try that version. Everything else is the same!

Directions
In a large bowl, dissolve yeast in warm water and stir with a wooden spoon.

Add flour and salt. Mix with the wooden spoon until the mixture becomes too thick. Then use your hands to fully wet the flour and salt.

Now prepare your fillings - shred the cheese and cut the ham steak into little chunks.
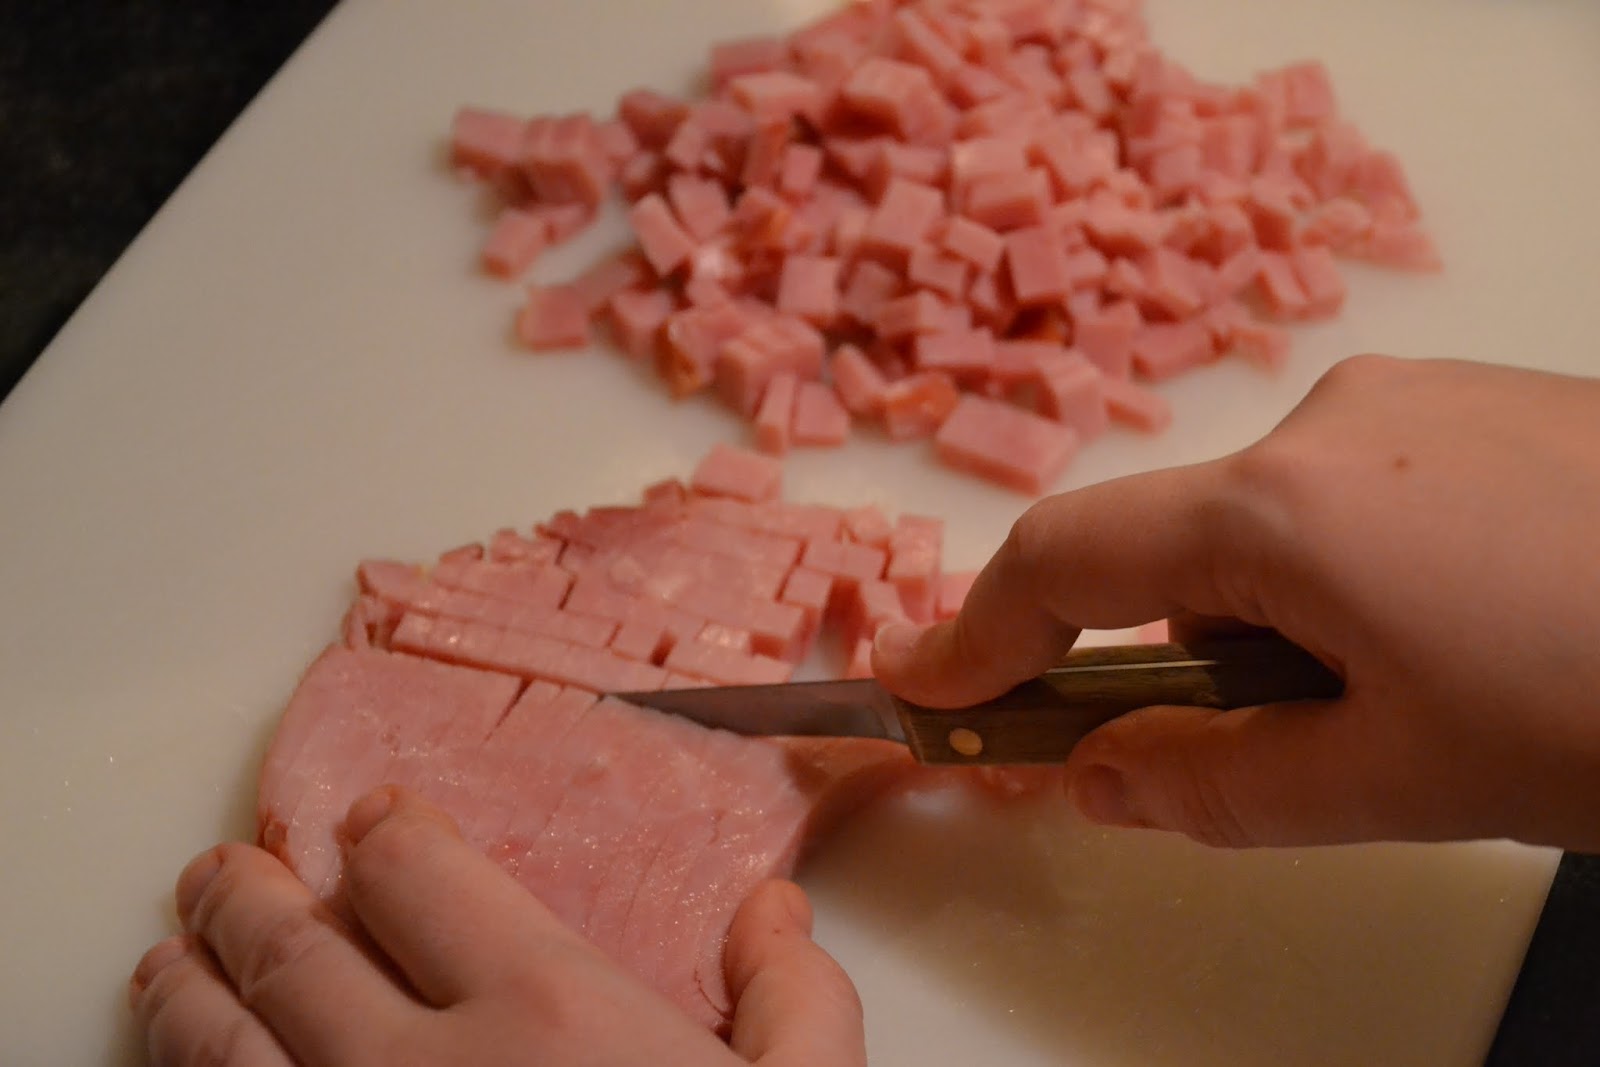

Toby especially enjoyed the "cut the ham" stage. As soon as I opened the package, he knew what I had (what a nose...). Ham is certainly in his "top 5 favorite foods".

Add the ham and cheese into the dough until it is fully combined. Then cover the container with plastic wrap and a kitchen towel and set it in a warm place to rise for at least 3 hours.

After 3 hours, place dough in the refrigerator overnight. (This step just makes the dough less sticky and easier to work with, but it's not really necessary once you get the ham and cheese in it. I'll probably skip this step next time.)
When you're ready to bake, place a metal baking pan (not glass) on the bottom rack of the oven filled with water. This helps steam the bread and give it a nice crust. Preheat the oven to 450 degrees. (The water will heat up during the preheat. Meanwhile butter the bottom of another 11x17 baking tray and sprinkle cornmeal over the butter. This will prevent the bread from sticking.
Cover your hands with flour and divide the dough into two even loaves, shaping each into a ball. Sprinkle the dough with flour and place on the baking tray, several inches apart. Sprinkle each with a little more flour (it'll make your bread pretty!). If you refrigerated your bread, let it rest on the baking tray for 30 minutes. Right before placing bread in the oven, score the top of the bread with an "x" or any other pretty, decorative mark, cutting right through the dough.

Bake for 30 minutes. Remove from oven and let cool 15 minutes before slicing.
Mine was not quite done after 30 minutes, so I cooked it 8-10 minutes longer, covered in foil so it didn't burn. I thinkkkk my issue was that I didn't let it sit out long enough from fridge to oven, so it was still cold. (oops) Not a hard problem to fix tho. :)


We decided to have a slice of the bread with tomato soup - it was like a grilled ham & cheese sandwich in one chunk! Just look at that cheese!

Mmmmm....
Make sure you check out all of the other recipes at the Noble Pig - it's a gem!

Lauren, this looks awesome! Do you think it could work as little breads, like individual biscuits/rolls? I find myself at many breakfast buffets, and this savory treat might be a good addition to the usual muffins and cakes and sweet stuff. Thanks for all your thoughtful posts!
ReplyDeleteBest--Cindy Cutlip
That's what I'm going to try next time actually - individual rolls! I don't see why it wouldn't - just watch them in the oven!
DeleteLauren, delish! I tried them yesterday--nine 2x2" balls in an 8x8" pan, like rolls. The other half of the dough as mini individual breads. I think I preferred the mini breads...more crusty edges. Served it with tomato soup for dinner. I might add a honey glaze next time to add a little sweet to the savory taste. Thank you for sharing this amazing recipe, Lauren. I will definitely make it again! Cindy Cutlip
DeleteYes please!
ReplyDeleteThis bread sounds/looks amazing! I bet it would be really good for breakfast with eggs!
ReplyDeleteOooooh yes! Next batch with brunch! :)
DeleteThanks for stopping by! Heading over now!
ReplyDeleteOh my gosh! Totally pinning!! Perfect for a cold night!
ReplyDelete