Hey everyone! I'm Bailey from
aka Bailey I'm so excited to be guest posting for Lauren today! She and I have been friends and colleagues for years, and she is the one who pushed me to get into blogging myself. My own blog is kind of an eclectic mix of
Vancouver tourism,
fitness, shopping (mostly thrifting), trying my darnedest to cook things that don't taste awful, and (my personal favorite) nail polish adventures! I decided to focus on the latter for my guest post today, so if you own a few nail polishes but feel like you aren't "good" enough to use them for anything cool... YOU THINK AGAIN RIGHT THIS INSTANT.
I'm going to outline a few of my favorite nail care basics, plus some of my favorite "cool" things you can do to your nails that will end up looking like you must have spent a LONG time on them.... when really you didn't! #Winks! It'll be our little secret how easy these things really are.
First up is nail care!
Now, if you're anything like I was a year ago, you might think that your nails are just things that exist on the ends of your fingers and that, aside from keeping them clean and cut to a length of your choice, you don't need to do anything else to them. Well... I mean, that's totally fine. Those are two good areas to start (and end, if you want!), but if you want to give them a little extra 'somethin somethin', here are a few easy (and cheap) things you can do:
-
Cut/file all 10 of them to one uniform shape and length. I used to be guilty of letting all my nails end up totally different shapes/lengths (because I'd bite them and pick at them), but once I started getting them all looking like Irish twins rather than distant cousins... well I have to say my entire life improved tenfold and I immediately received a raise at work. Just kidding. But my nails did look nicer, for a minimal amount of effort. Bonus: Nail files can cost as little as 99 cents. #GetSome.

- Use a
cuticle softener. This is a relatively cheap product that will soften your cuticles enough to push them back safely and without irritation or cutting. I use an affordable Revlon version, applying it to my nails with the brush, then rubbing it into my cuticles with my fingertips:
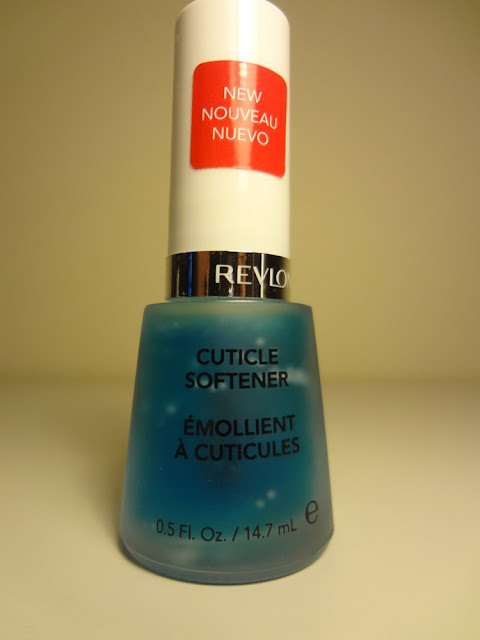
- After you massage in your cuticle softener, then you can use a
cuticle pusher-backer... for lack of a better term. This will be a very inexpensive tool that you can use to - you guessed it - push back your cuticles. I've seen versions that are made of stainless steel, but I prefer to use this awesome plastic one with a rubber tip because it's much gentler than the harsh steel and its soft rubber tip doesn't cut or damage my cuticles or surrounding skin.

- I also use a
cuticle massage cream after I push back my cuticles. This softens and moisturizes your cuticles and surrounding skin and keeps them looking really healthy. I use Sally Hansen Cuticle Massage Cream. You don't necessarily
need this step, but I personally really like the healthy glow and un-chalky appearance of my finger tips after I massage some of this stuff in there:
 TIME OUT.
 Now, you might be asking yourself, "Dude... seriously... what is this girl's deal with cuticles? Why is she paying so much attention to them?"
Well, you'd be amazed how much the look of your nails can change depending on how your cuticles are looking. Again, I used to not give too much of a crap about them. I'd let them get like this:

And - NOT TO BRAG OR ANYTHING - but they look way better nowadays:
- The final step of my nail care routine (before actually painting my nails) is using a nice
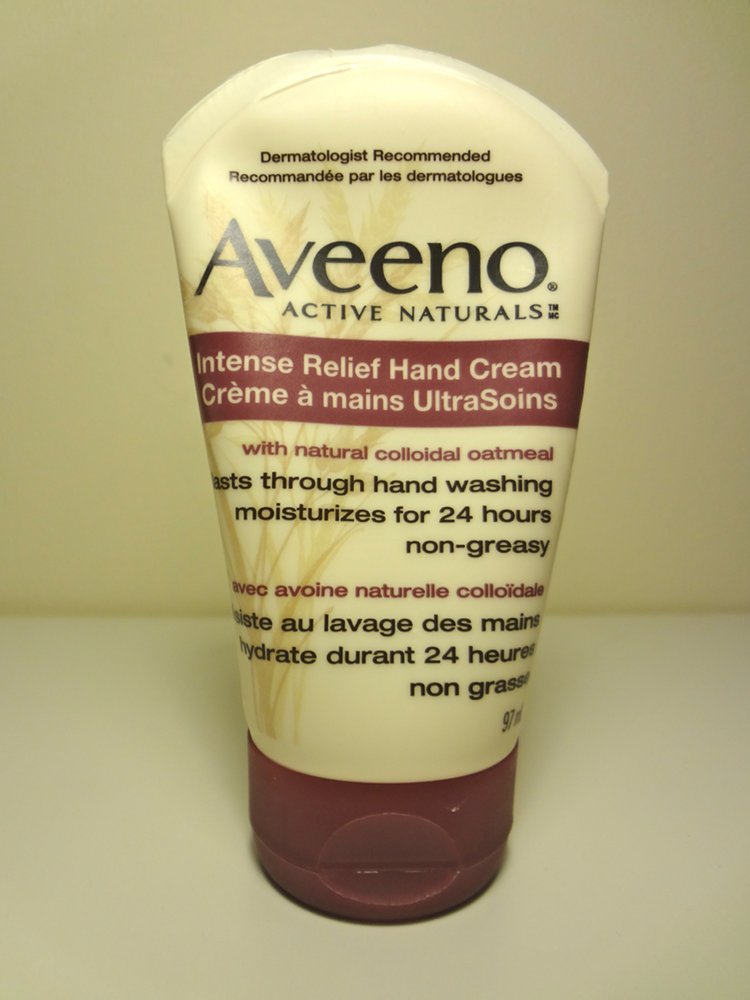
thick, non-greasy hand cream. I've heard that hands, neck and chest are 3 areas that can really show your age, so these are 3 areas that I've started to give more moisturizing attention to lately. Prevention is the key to.... preventing things you don't want to happen, so if you don't want wrinkles popping up, it's time to get serious about moisturizing, ladiiiies! I've pretty much fallen in love with this Aveeno Active Naturals Intense Relief Hand Cream:
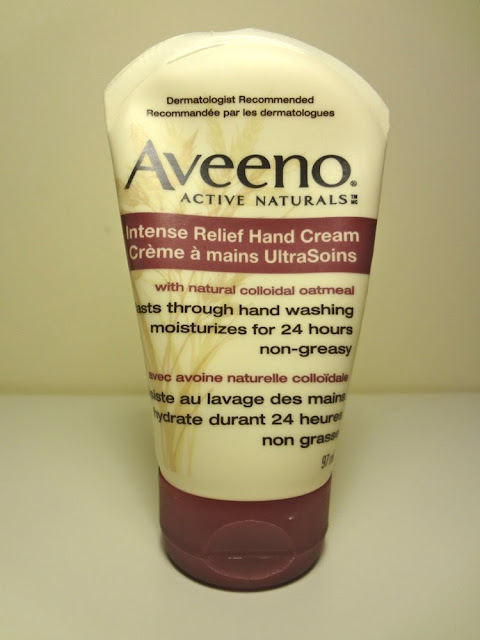
Like I said, I've made hand cream the final step of my nail care routine, but I also do my best to apply hand cream every night before bed, too.
Now that we've gotten all the nail care out of the way, it's time for the fun stuff - POLISHIN' YA NAILS!
Here are some
easy things to paint onto your nails:
- Accent nails: You may or may not have heard this term before, but an "
accent nail" is a new-ish thing in the polish world wherein we are now allowed to paint one or two of our nails a different color than the rest, without anyone accusing us of having multiple personalities. I often use my ring finger as my
accent nail:


It's a fun and very easy way to jazz things up. If you have a sparkly or glittery polish, try using this as your accent nail color and letting the compliments roll in.
- Polka dots: With a dotting tool (which are now sold in most places where nail polish is sold) or a toothpick,
polka dots are really easy to make. Simply paint your nails your base color and allow it to dry completely. Next, take your polka dot color and using your polish brush, put 3-4 drops of polish onto a piece of scrap paper. Then just dip the tip of your dotting tool/toothpick into the wet drops of polish and use it to "stamp" your nails with dots:


Making the dots look
really great takes a little bit of practice - I like to practice on a piece of paper before I try it on my nails. No shame in practicing!!
- Color blocking: Choose 2 nail polish colors to work with. Paint all of your nails 2 coats of the lighter color and let them dry completely. And I
really mean totally, completely, absolutely dry! Next, use strips of scotch tape to block off half of each nail:

Then paint over the exposed half of your nail with your second polish color. Before it dries, carefully pull away the strip of tape on each nail, revealing a
color blocked look.
- Leopard print: This one is like the king of nail polish looks and is
much easier than people think it is... In fact, I hesitate to even share the secret because I kind of like people thinking that it takes an insane amount of skill to do, hehe! To
paint a leopard print onto your nails, first choose 3 different polish colors - your base color, your "spot" color, and your "around the spot" color.

First, paint your nails 2 coats of your base color.
Next, using your spot color, pop a few spots around your nail by just tapping your nail polish brush gently in a few different places around your nail. Leave plenty of room between these spots.
Then, place a few drops of your final color onto a piece of scrap paper. Dip a toothpick into the drops and use the toothpick to draw some brackets ( ) and U's around the spots. Use a quick stippling motion for this part.
Lastly, add a few random spots around the nail in the empty spaces, using the same color that you used for your brackets and U's.
You can see a step-by-step of leopard print nails via photos over
here on my blog.
So now that you know what to do, all you need are the polishes to do it! The good news is that you don't need to spend a lot of money on nail polish. There
are some pretty expensive brands out there that sell their polishes for $12-$25/bottle, but to them I say.... "PSHT." We can do better than that, ladies! Head to a Target or a CVS/Walgreens and scope out their selections of Revlon, Sally Hansen and Sinful Colors polishes. Those are 3 brands that I love and none of them cost more than $5/bottle (in the States, that is... Here in Vancouver, BC everything costs 1 first born child.)
I hope that this has inspired you to try some new things with your nails! Check out
my blog for more relatively easy nail ideas - I post a new nail polish blog every Friday!