Showing posts with label cake decorating how-to. Show all posts

Friday, July 5, 2013

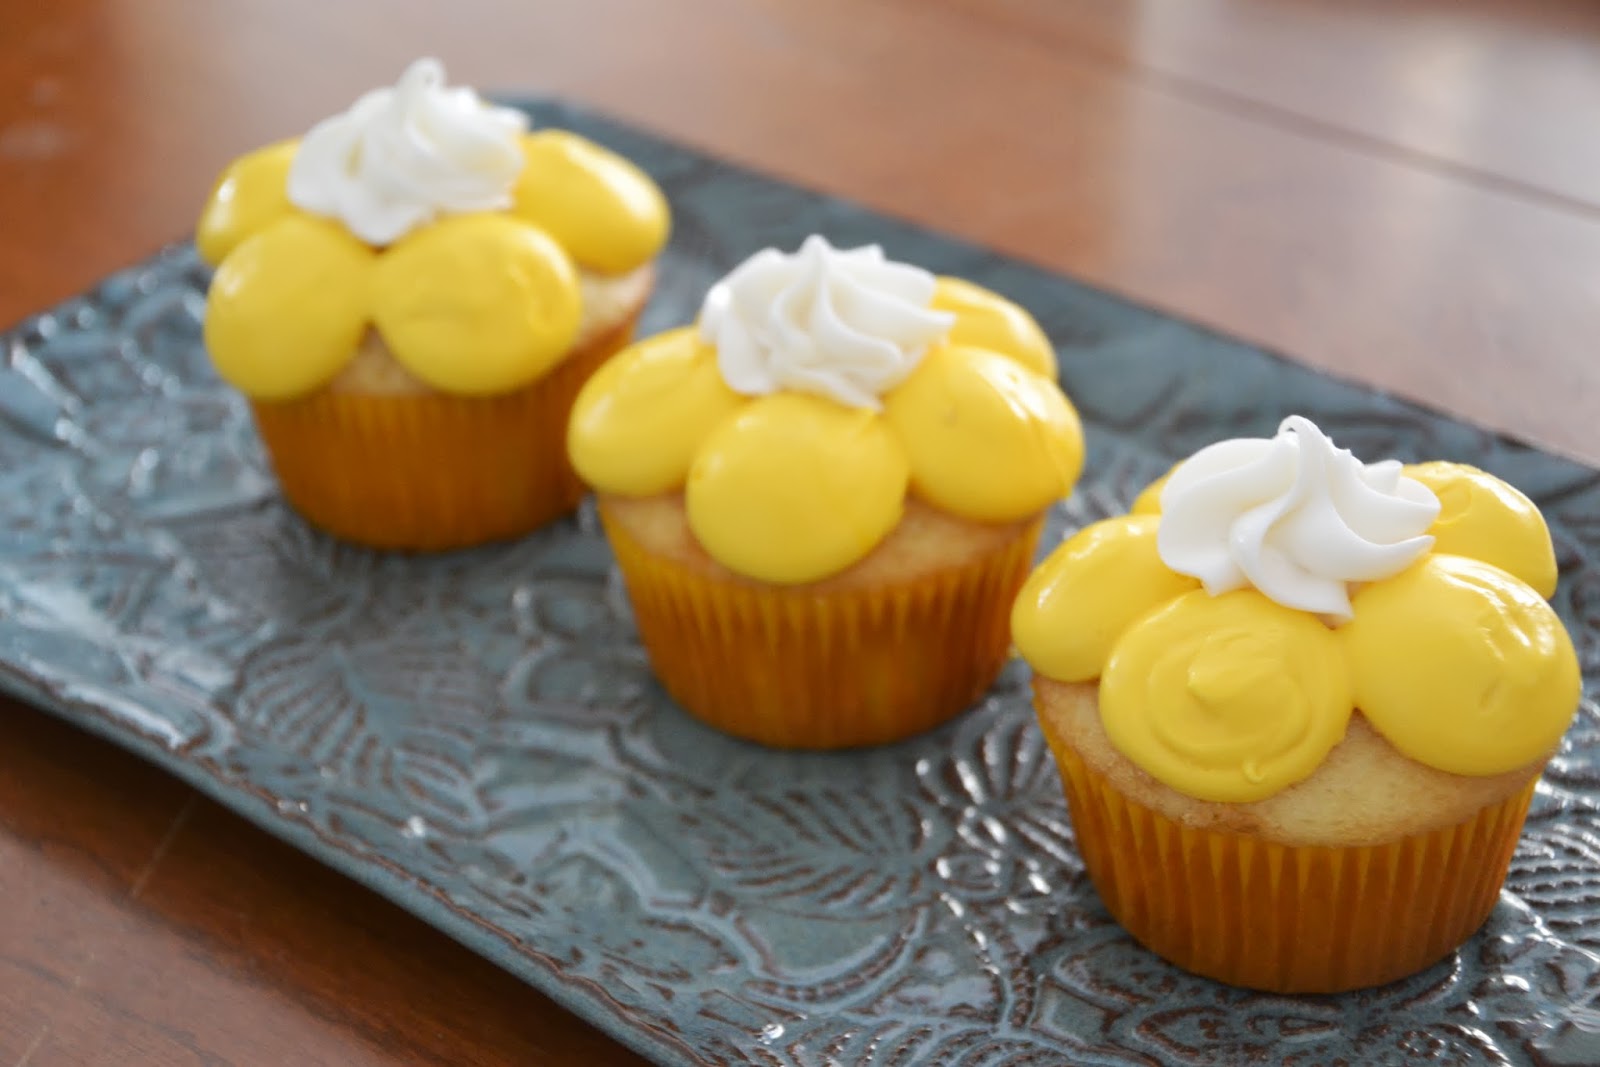
Easy Flower Cupcakes

Happy Friday!  Today I had the pleasure of guest posting over at DIY by Design.  Judy's blog is one of the first I started following when I began blogging 10 months ago, so I was excited to have the opportunity to share a cupcake how-to while she's on vacation!

If you're new here, I hope you'll become a follower and stick around!

Follow Much Ado on Bloglovin...
...or Facebook...
...or Pinterest...
...or on Twitter...
...or your favorite reader!

It's been a HOT week here in Boston - it finally feels like summer!  To celebrate, I decided to put together a simple summery flower tutorial.  There's no need for lots of "cake gear" or previous experience for this cute  flower.  It just boils down to 5 dots and a swirl!

Make several different colors of icing and you'll end up with a colorful bouquet of flowers at the end - perfect!

Check out the complete how-to here!


Interested in other cake tutorials?  Check out some of my other designs here, here, here, here, and here!

Thanks again, Judy, for letting me crash your blog!


Monday, January 28, 2013

Cake Decorating How-to: Valentine's Cupcakes

If you've walked in any store lately, you can't miss the fact that Valentine's Day is just around the corner.  Pinterest is exploding with fun ways to change your everyday food into heart-shaped treats and decorate your home for the sweetest day in February.  In honor of the sweetest day of the year, I put together a Valentine's inspired cupcakes you can whip up to impress your friends or that special someone.  (AND...as a special bonus, there's a cupcake nail polish design by my bud Bailey at the bottom!  Keep reading!)

These are so easy to make and take almost no time.  If you've never used fondant before, don't be worried - this would be a great decoration to start with!


All you'll need is:

Baked cupcakes
White buttercream frosting (here's a great recipe...or you could just use store-bought)
Fondant (red and white)
Red gel coloring ("No Taste Red" or "Christmas")
Several heart cookie cutters (different sizes, all under 1")
Small rolling pin
Piping bag
Wax paper
Crisco

Start by mixing your fondant.  You can either buy pre-mixed red fondant at a craft store (try AC Moore or Michael's), or mix your own by using gel coloring + white fondant.  

For this design, I made several shades of red and pink.  I wanted to make sure that all the shades were in the same gradient, I started with one ball of white and one ball of red fondant.  For the below colors, I used the following ratios of white to red. 
From left to right, they are - all red, 1:1, 2:1, 4:1, and 8:1.

Tape a piece of wax paper to your counter top and rub some Crisco in the center.  This will keep the fondant from sticking to the wax paper as you roll it out.  Roll one colored ball on the wax paper.  Using the heart shaped cookie cutters, cut out several different sizes of hearts.  
Do this with each color, laying the hears on a separate sheet of wax paper to dry.  


Let these sit out until they are stiff enough that they won't flop over when you pick them up - at least an hour.  You can store them in a Tupperware container overnight if needed.

Now to put the cupcakes together!  

Fill a piping bag with your white icing that has a 1A decorating tip.  
Pipe a large swirl of icing on the top of each cupcake, like you would a soft serve ice cream cone.  Start by piping around the outside edge of the cupcake.  Without releasing pressure, continue your swirl with a second, smaller swirl on top, and finally a little third swirl, pulling up as you release tension on the bag.


Now stick your little hearts into the frosting.  Try to use each shade of red and pink in each cupcake and vary the combinations on each cupcake so they are all a little different.  I used one large heart, one medium heart, and 3 or 4 small hearts on each cupcake.


These would be fun to bring for a school party too, since the hearts are edible.

I'd shown my friend Bailey a picture of these cupcakes last week and we decided to have a little cross-blogging adventure.  She puts together super cute nail polish designs on a regular basis (we've even spotted a big YouTube "star" sporting her designs), so she agreed to do a "cupcake nails" tutorial inspired by these cupcakes!  (EEEEE!!)  I think my favorite part is the cupcake wrapper - super sparkly!

Without further ado (haha)...check out her Valentine nails blog and leave her some love.  :)


Happy cupcaking!


Friday, December 14, 2012

Cake Decorating How-To: Buttercream Christmas Trees

Today's cupcake tutorial is quite possibly one of the easiest Christmas decorations ever - a buttercream Christmas tree!  I promise your guests will "ooo and aaaaah" when they see your tiny masterpieces, and kids (of all ages) will love the generous helping of frosting on each cupcake.  They'd also look great paired with the buttercream wreaths I posted earlier this month.  They even use the same colors, which will make your life easy too.  :)  To make these cupcakes, you'll need:

Baked Cupcakes 
Buttercream Icing (white and green)
1 piping bag with a standard coupler
A medium open star tip
Sprinkles (round preferably!)


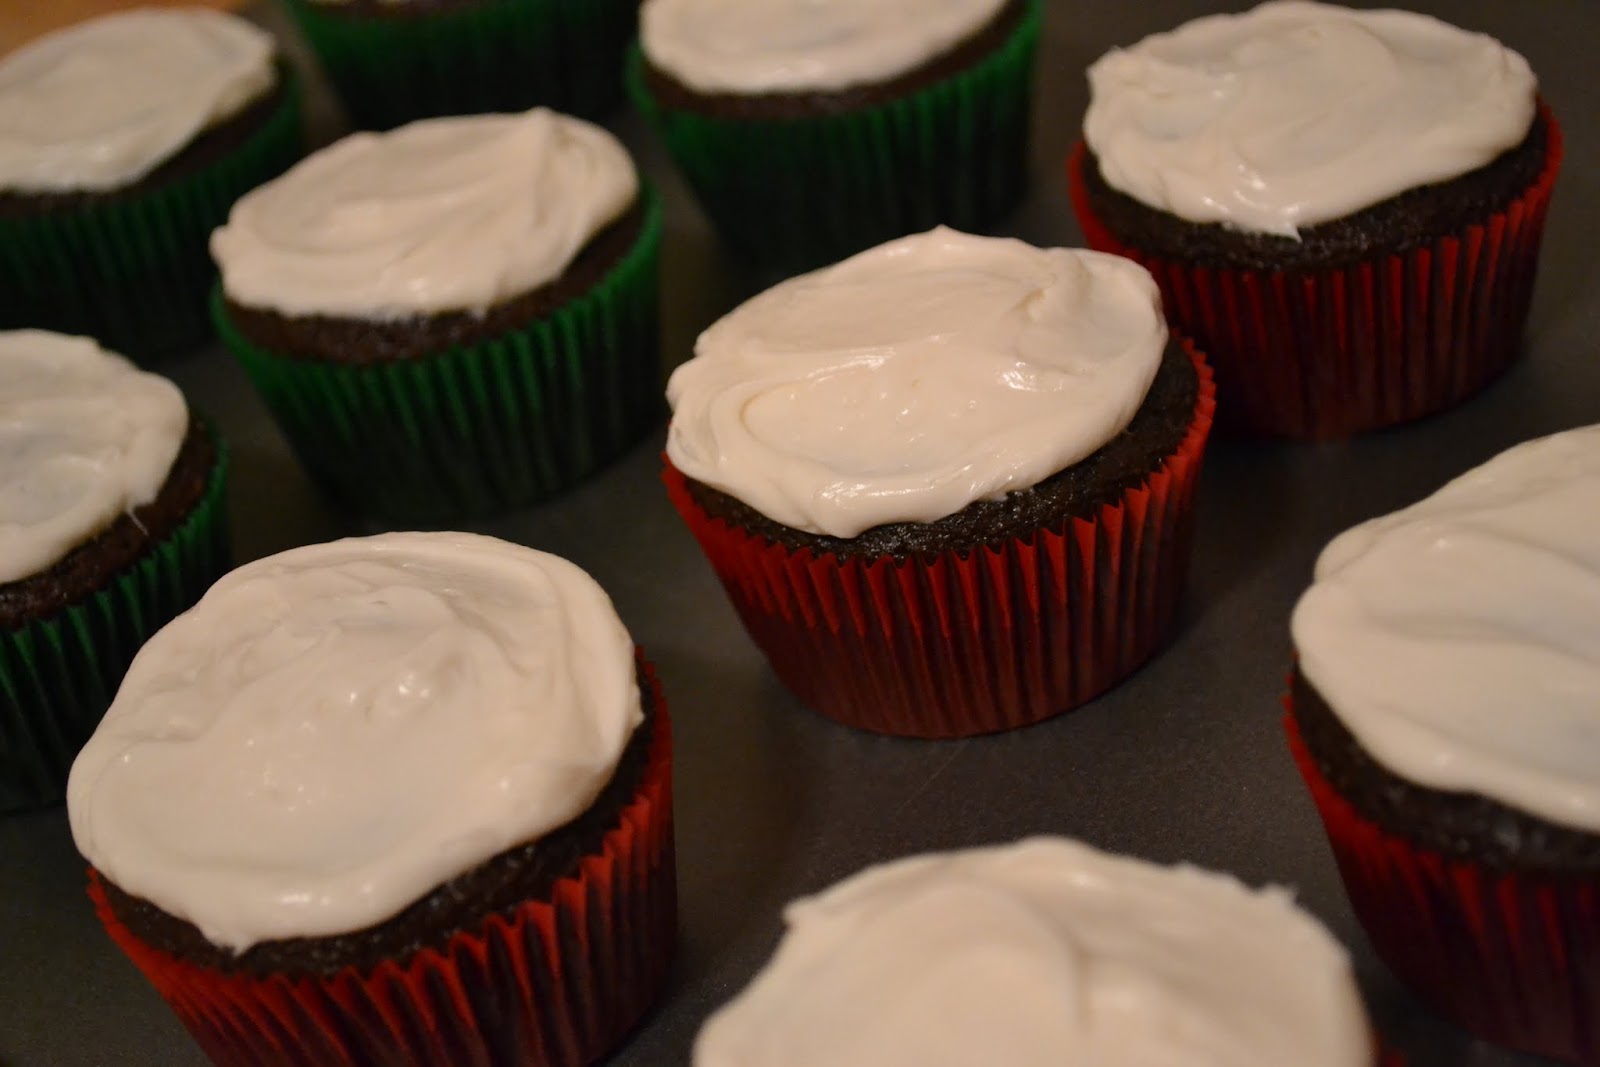
Once your cupcakes cool, spread a thin layer of white icing across their tops.


Mix and fill your piping bag with green icing (see this blog about coloring icing).  Using the open star tip, pipe two circles on top of each other (bottom a little larger than the top) - think soft-serve ice cream for the swirl shape!  This will be the "inside" your your tree.


With the same tip, make your ice cream swoop around the "inside tree" you previously made.


Now "decorate" your tree with sprinkles!  Make sure to give them a soft tap so they stay on the tree.


See?  I told you they were simple!