Diaper cakes are incredibly easy to make and really cute. They look great on your food table and are an easy way to add height to the table and tie in your theme! If you can roll diapers and use rubber bands, you can make a diaper cake. I have confidence in you!
You'll need:
60-75 diapers (mostly white)
Rubber bands (~100)
Paper towel roll
Ribbon
Straight pins (6)
Cake Stand
A section of a plastic tablecloth (or fabric) approx 3-4 foot square (depending on how large your cake stand is
Assorted decorations
First, roll up your diapers. Roll them so any graphics across the front stay on the inside (you want a white outside) from bottom to top. They should be snug, but not super tight. Wrap each with a rubber band around the middle to keep in place. You don't want the rubber band so tight it indents the diaper, so loosen if you need.
Once you've rolled 60 or so diapers, it's time to start assembling the bottom tier of your cake. Start by surrounding the bottom of the paper towel roll with your rolled diapers. Once you've formed the first layer, put another rubber band around the group to secure.
Then surround that layer with another, and secure the group with another rubber band. Continue with a third layer to finish the bottom tier. (Tip: As you get to the second and third layer of rolled diapers, it gets easier to put the rubber band on first and slide the rolled diapers in as you go.)
Once the bottom tier has three layers of diapers, you can start on the second tier. Construct in the same way, only this time just do two layers of diapers. Then move on to the top tier and do one layer of diapers.
Isn't it nice that a paper towel roll is the same height of three rolled newborn diapers stacked on top of each other? Works out perfectly!
I stuck rolled up diapers inside the paper towel roll at the end too, so the top wouldn't be empty - you don't want to see a hollow tube at the top of your cute cake!
Next up - the ribbon! You'll want to select a ribbon that is about 1/3 the height of the diapers you're using. You'll be wrapping it around the middle of each tier, covering the rubber bands.
Secure the ribbon in the back with pins. One pin in the top corner where it starts, and a pin in the top and bottom corners where it ends to hold in place. If you have pins with tops the same color as your ribbon, awesome! If not, just make sure they end up in the back.
Then I made a simple bow to put on top of the cake and secured it with another pin through the back.
Next I covered my cake stand. The glass cake stand is nice for some things, but didn't fit the "feel" of my diaper cake, so I decided to cover it. I used the end of the tablecloth I didn't need (you'll need a 3-4 foot square depending on the size of your base) so it would tie in nicely with the rest of the table.
Lay the cake stand upside down in the center of your fabric.
Gather the ends around the entire stand.
Tie a ribbon around the top of the pedestal, close to the plate. You could also use a rubber band.
Cut away the excess fabric, but leave enough so it will hang to cover the entire pedestal.
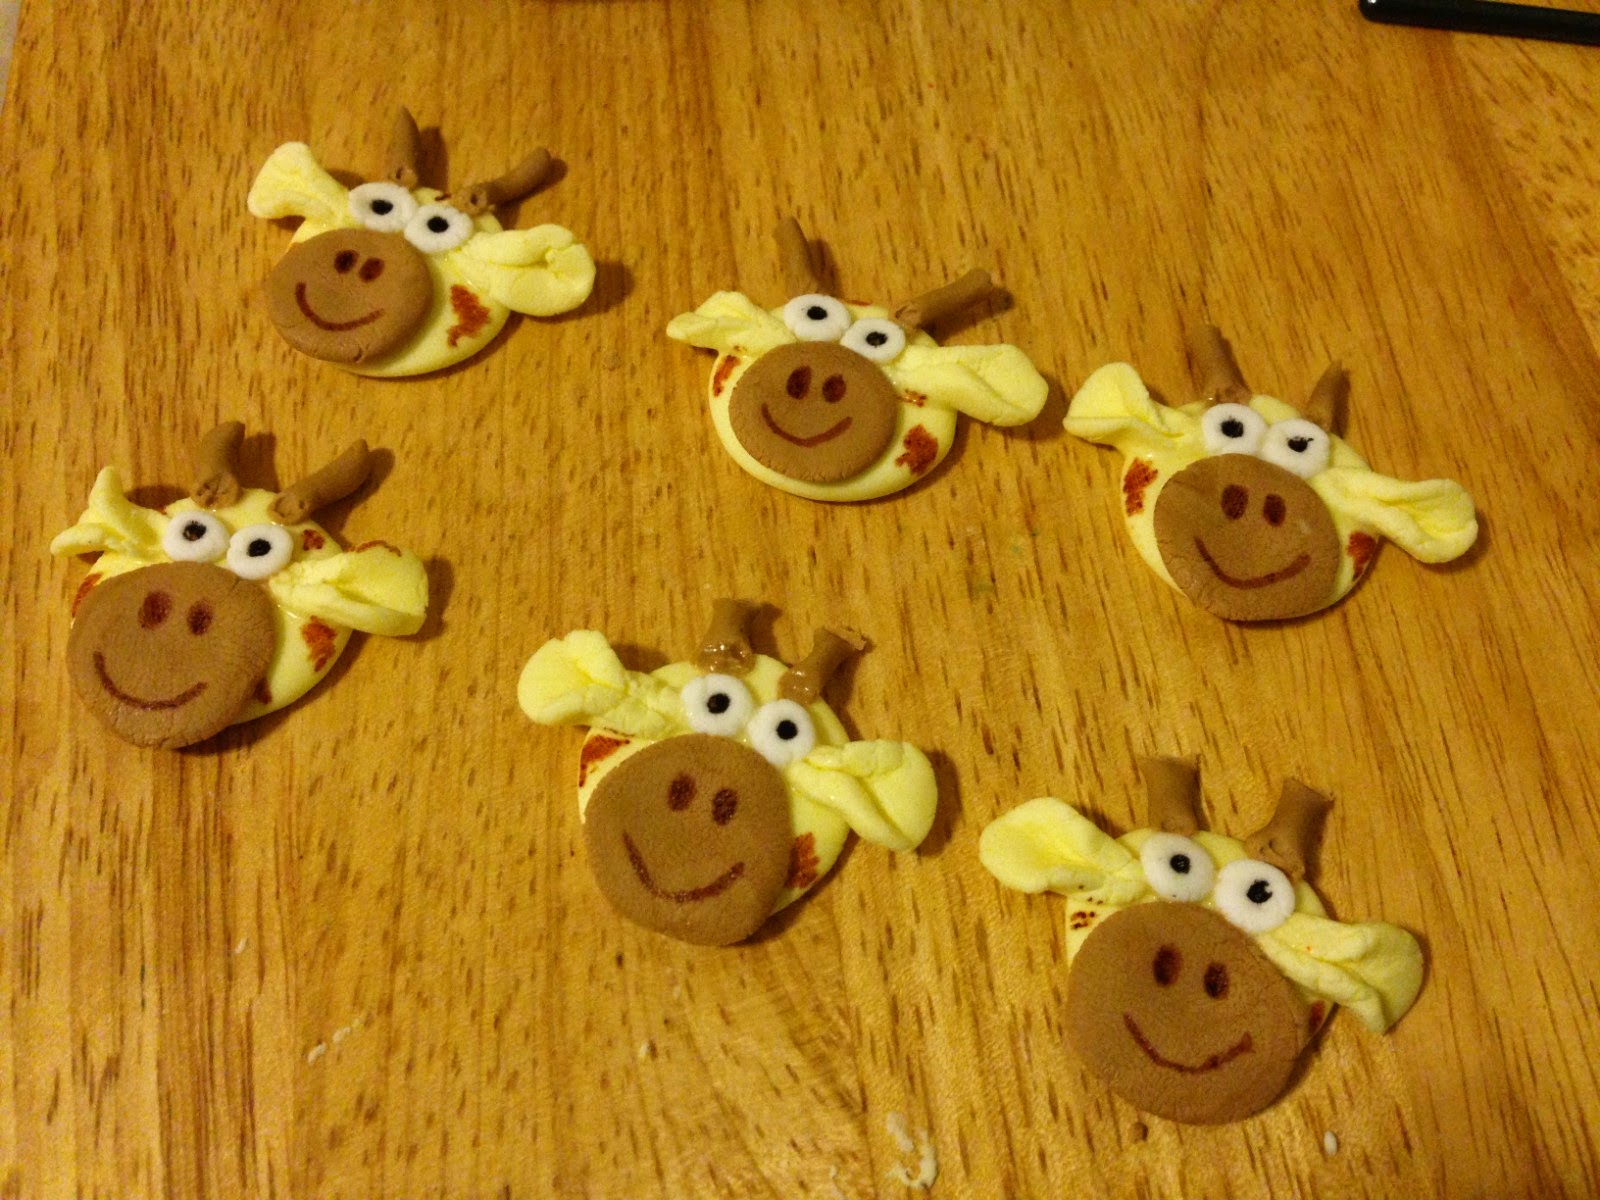
I wanted to keep the other decorations on my diaper cake simple, so I went with a monkey, giraffe and passie. "Monkey" and "giraffe" are the nicknames given to each of the baby girls we were celebrating that day.
Turned out pretty nicely!
All the parents-to-be have to do is unroll the diapers as they need them! Talk about a functional decoration.
Have you made a diaper cake before?
Check out other baby shower posts:
Baby shower activity - make a wish tree!
Marshmallow Baby Rattle Shower Favors
Chocolate covered pretzel giraffes
Baby shower overview - complete with a "cravings corner"


.JPG)
.JPG)


.JPG)


.JPG)
.JPG)


.JPG)


