Showing posts with label giraffes. Show all posts

Wednesday, March 11, 2015

Chocolate Covered Pretzel Giraffes

Last weekend, I threw a baby shower for my friend Barb who is having twin girls (read more about it here)!  Barb and her husband, Dave, are two of the nicest and most hilarious people we know, so we were excited to help celebrate their little ones with their Boston friends!

In true pregnant lady fashion, these babies have nick-names already.  "Baby A" and "Baby B", how the doctors refer to the babies, wasn't cutting it, so they opted with giraffe and monkey (characteristics mirrored by the girls' actions already).  I decided to make some chocolate covered pretzels look like giraffes, and mini cupcakes with monkeys on them to reflect these names.  I found a pin with lots of chocolate covered pretzels decorated like animals while browsing one day, and knew these needed to be at the shower.


To make them, you'll need:

Log pretzels
Yellow candy coat morsels (or yellow melting chocolate)
Fondant (or brown and yellow colored candies)
Brown and yellow icing dye (if you're using fondant)
Paintbrushs
Water
Food-safe markers (brown and black) - optional

First, dip your pretzels and lay them on wax paper to dry.

I found the candy coating dots coated thinly, so I did two coats on the pretzels.  The more the better...mmmmmmm.


Next for the faces!

You'll need one large yellow circle, two small yellow circles, and one brown circle to begin the face.  Lightly pinch one section of each small yellow circle to form the ears (see below).  Wet a paintbrush and put a dab of water where the brown circle and two ears should go.  This will help the fondant stick to each other.


Now for the details - the eyes, horns and markings!

Roll two small brown pieces for the horns and two white balls for the eyes.  Use the food-safe markers to finish the eyes, nose markings, and dots on the face!

Leave these to dry before attaching to the pretzel.
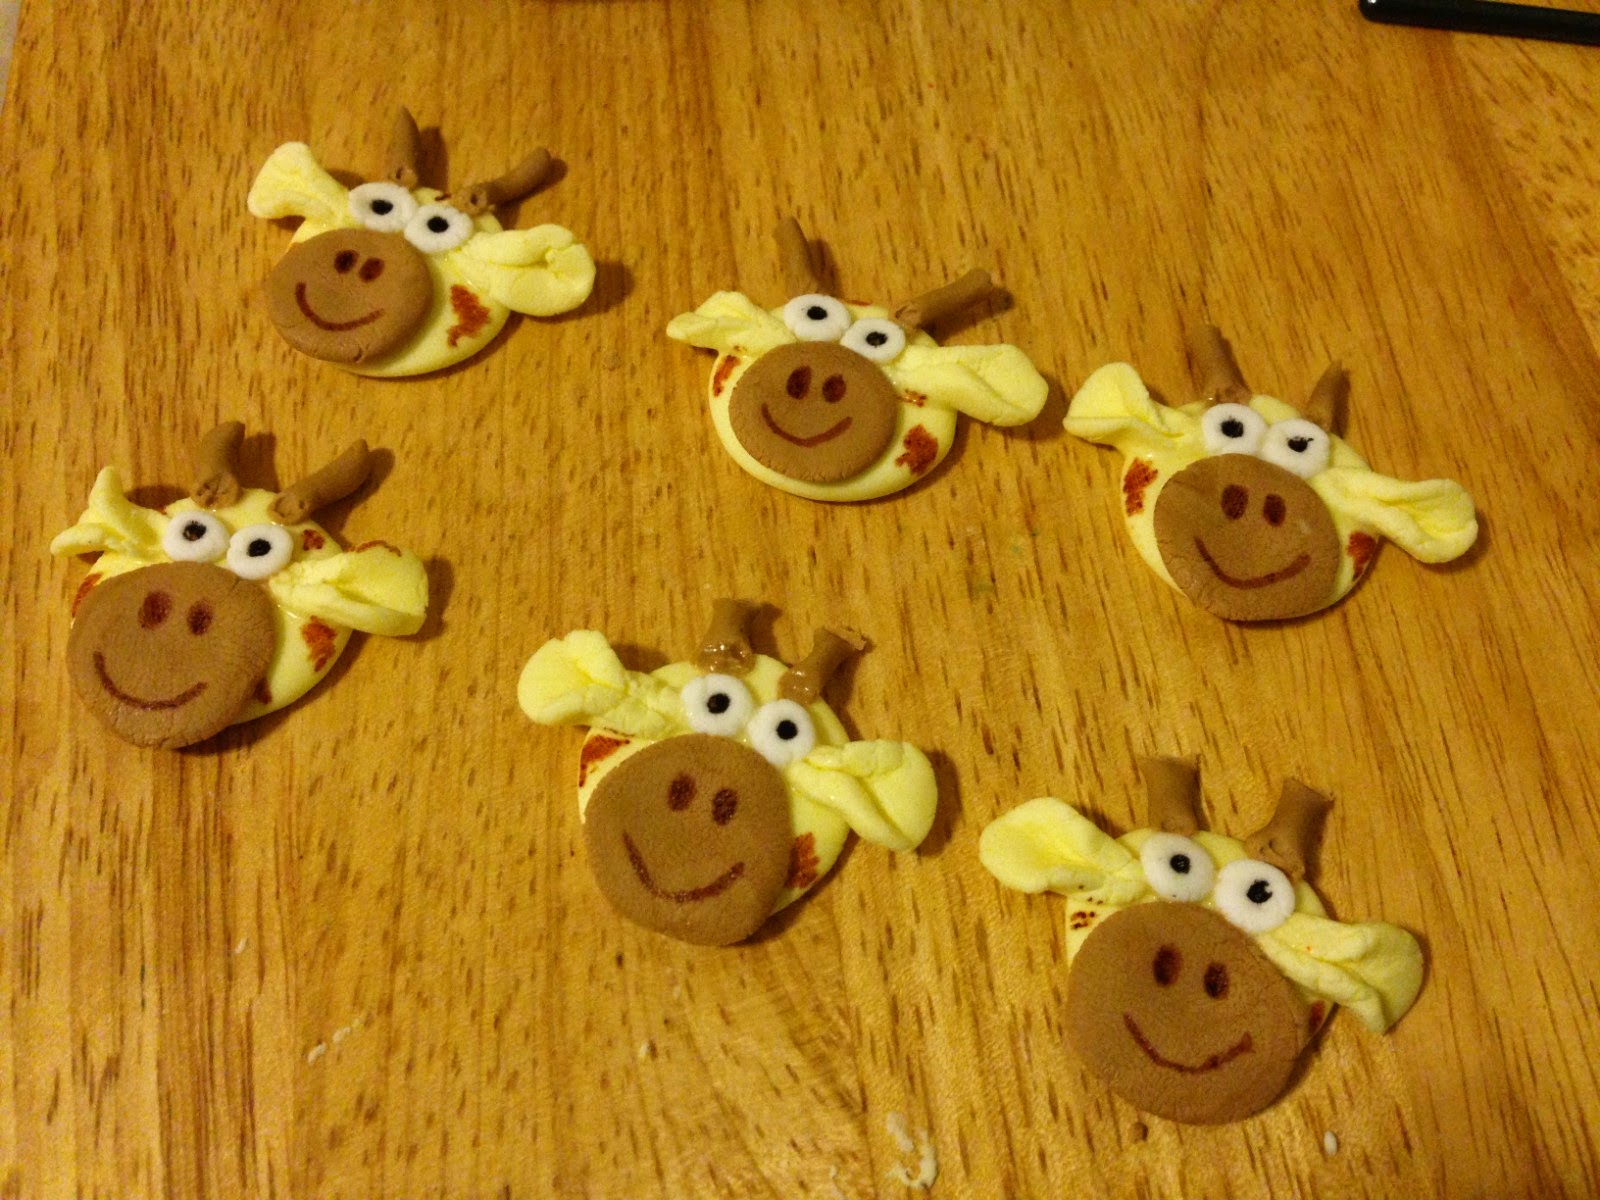

Paint on giraffe spots using slightly watered-down brown icing gel.  Let dry.


Then attach the faces with a little melted chocolate!


Enjoy!


Monday, March 9, 2015

A twin baby shower

This weekend, I hosted a baby shower for my friend Barb, who is having twin girls in 6 weeks (or sooner!).  I love cooking and making things, so I was excited to spend my last bit of maternity leave working on a special day for a good friend!

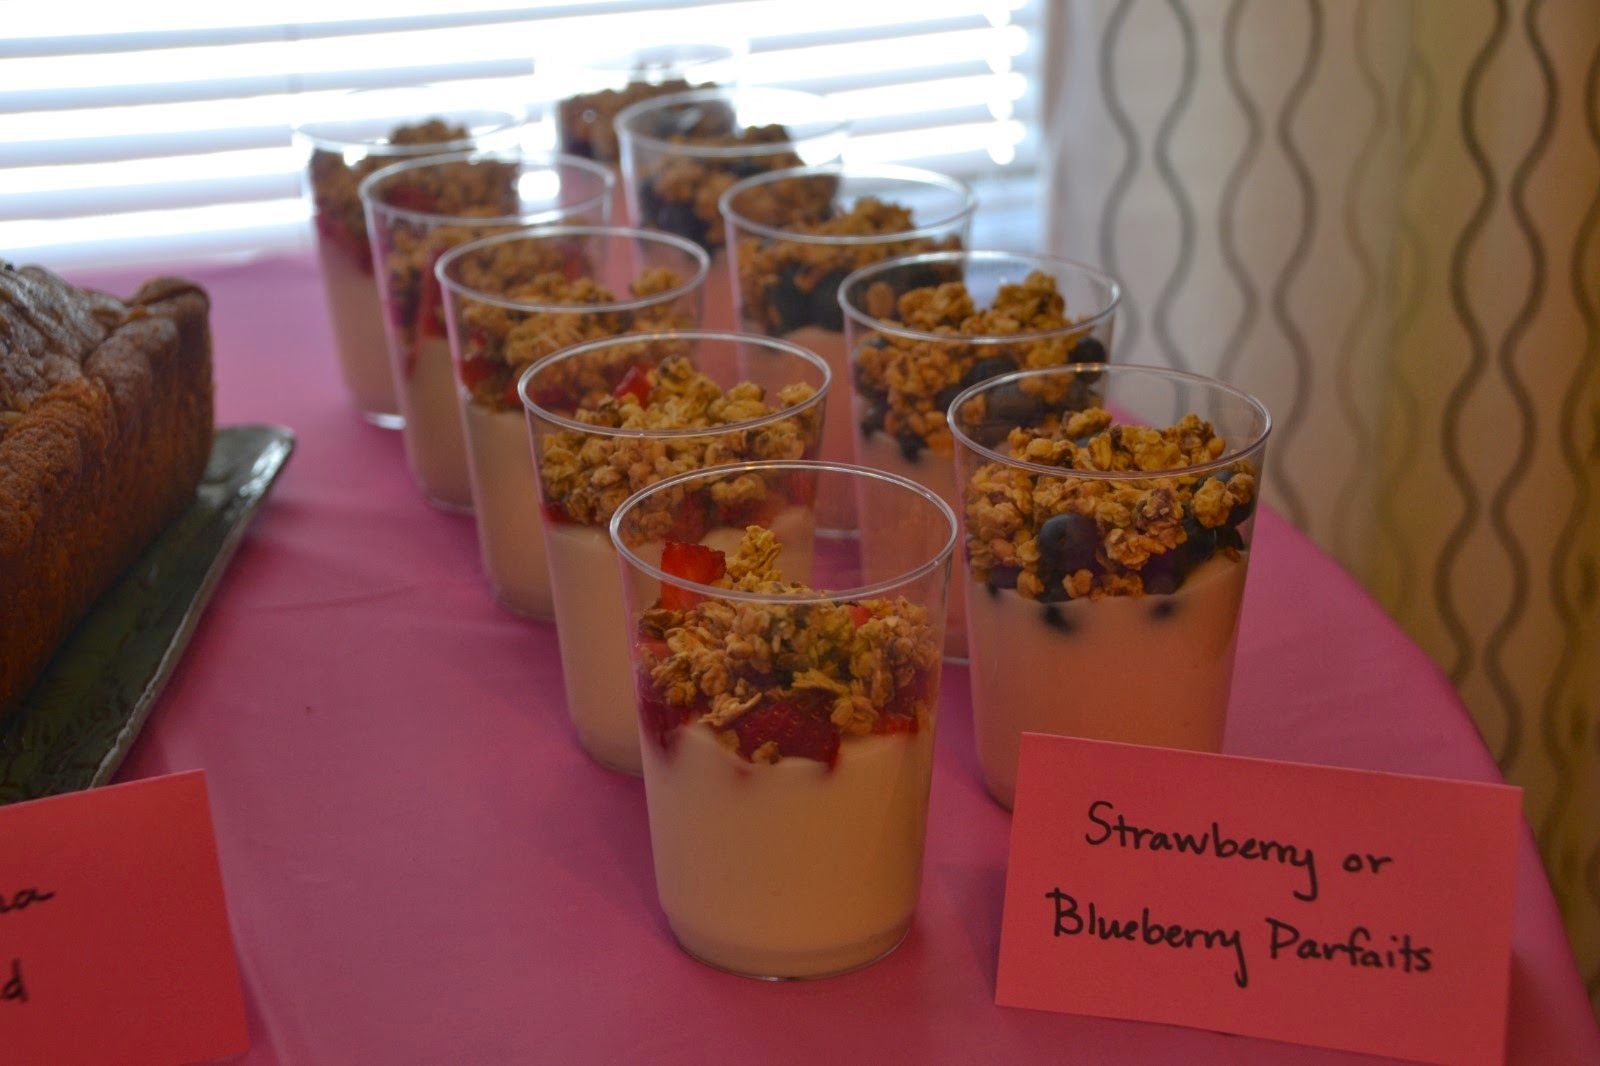
The shower was at 10:30, so I decided to serve brunch.  I made sausage and cheese breakfast casseroles, banana bread, yogurt parfaits, fruit salad, mini chocolate cupcakes and chocolate dipped pretzels.  (Check back for future blogs about how I made the diaper cake and chocolate covered giraffe pretzels!)


I also had a "Cravings Corner" full of all the foods Barb has been craving.  Some of her cravings over the last 7 months have been...

Honey Bunches of Oats with raisins and 2% milk
Strawberries
Diet Caffeine Free Coke
Cheeseburgers
Donuts
Chips with Ranch Dip

It was a huge hit with Barb and the rest of the guests.  Who knew burgers went so well with brunch?


Since the party consisted of groups of people from lots of different "friend circles", I decided to make name tags.  Sticky-backed "My Name Is..." name tags wouldn't do, so I decided to make some tiny onesie tags for everyone to wear.

I drew a onesie on a piece of paper, cut it out, and traced the template onto three shades of pink paper.  Then I traced a slightly smaller version of the onesie on white paper and taped them on each other.  All that was left was writing names on them and hanging them on the clothesline!

I hung a line beside the cravings corner table with two newborn onesies and the name tags (held by clothespins) so everyone could find their tag as they came in.  They attached them to their tops using the clothespin!  Super cute.


We had a great time chatting, eating, opening presents, and making the soon-to-be family of four a "wish tree".  We made one of these at my friend Laci's baby shower, and I loved the idea.  Everyone writes things they're excited for the girls to experience as they grow up and/or wishes for them on leaves.  After they share with the group, we put them on a tree to go in their nursery!  We left a lot of room for other family members and friends to add experiences and wishes as well.

Check back for a later blog on how to make this!


Barb and Dave already hung it in their nursery!  Doesn't it look great?

The girls and their mamma were thoroughly celebrated and Barb even got to practice holding two babies, Owen and Alice (my friend Robyn's little girl, who was born 3 weeks after Owen).


Dave's mom made two beautiful blankets for the girls!

Who knew the belly would be a great baby holder?

Practicing a baby in each arm!  We just couldn't figure out how she'd put one of them down...
Everyone went home with a chocolate-dipped marshmallow rattle at the end of the shower!  (Again...check back for the how-to.)


I can't wait to meet these little girls!