If you've been following along for long, you know husband and I bought ourselves a snazzy Nikon D3100 for our anniversary last July. We were soooo excited to start taking pictures and were really happy with the (major) upgrade in the quality of photos we were able to produce. By
Christmas, we knew we were in love with our camera (and realized this wasn't going to be some fleeting romance), so we got a Tamron 18-270 so we could finally stop changing lenses so often. It was at that point I started to feel a little bad that we had all this amazing equipment, but I didn't know how to use it to its full capacity. Take me out of "automatic" and I was lost.
A few weeks ago, I heard about a photography class,
Camera Ready - Boston and knew this was my answer. It was time to take the leap from automatic to manual mode...and boy am I glad I did!
The class was all day Saturday (10-5pm) in photographer
Kate's studio in Salem, MA. I was a little worried that a 7 hour class would just leave my head spinning, but Kate and
Ash are pro's and had lots of different exercises and fun things planned that were designed to teach as we played.
Kate's studio was bright, colorful, and full of everything I love -
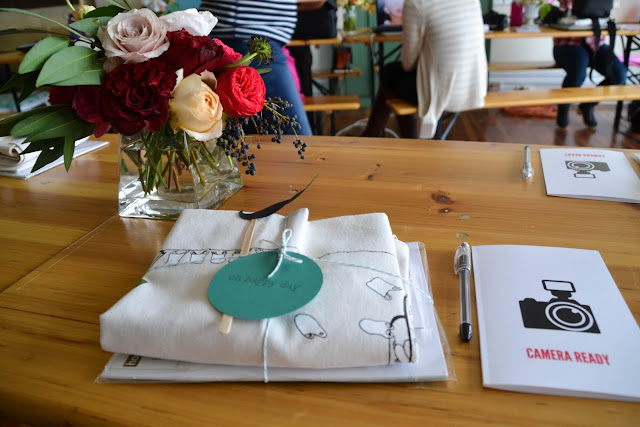
antiques, bright colors, and flowers. Each seat had a packet wrapped in string full of treats and a Camera Ready booklet for us to take notes in.
Once everyone got settled, we started with the basics of shooting in manual mode. It really comes down to balancing three things - ISO, shutter speed, and aperture.
ISO refers to film speed, which is kind of a funny thing since you're using a digital camera. Your ISO should change depending on the light where you're taking pictures. If you're outside in sun, your ISO should be low - set at 100. The lower the light, the higher your ISO should be.
Shutter Speed refers to the length of time a camera shutter is open. Lower shutter speeds let in more light (since they are open longer), but will be blurry if you (or your subject) moves while you're taking the picture. If you're holding the camera in your hand (not using a tripod), a good rule of thumb is to not set your shutter speed lower than 1/125. When you need to snap a picture of something in action (like pets, sports, or leaves falling), set your shutter speed to 1/500.
Aperture has to do with two things - depth of field and the amount of light allowed in. The light piece is a little tricky, as there is a reverse correlation here - the lower the aperture, the more light you're allowing in, the higher the aperture, the less light you're letting in. It'll help to look at the screen of your camera - most have a diagram of a camera lense, and will show it "opening" as your aperture lowers and "closing" as your aperture gets higher.
The other component of aperture is depth of field. This is how you'll be able to get the pictures with the awesome blurry backgrounds. Lower apertures focus on something small and give you a blurry background. Higher apertures are great for large group photos (f22), so everyone's face will be in focus.
It can be quite overwhelming trying to balance all of these settings at first, but it really just takes practice. Set your levels, take the picture. If it's overexposed, adjust, take another. Adjust, take another, adjust, take another...until you get it right!
Kate and Ash were awesome about answering all of our questions, and gave us lots of time to practice. The beautiful flower arrangements on the tables (courtesy of
Pollen Floral Designs) were perfect to practice on while we learned the in's and out's of manual mode.
Lunch was catered by
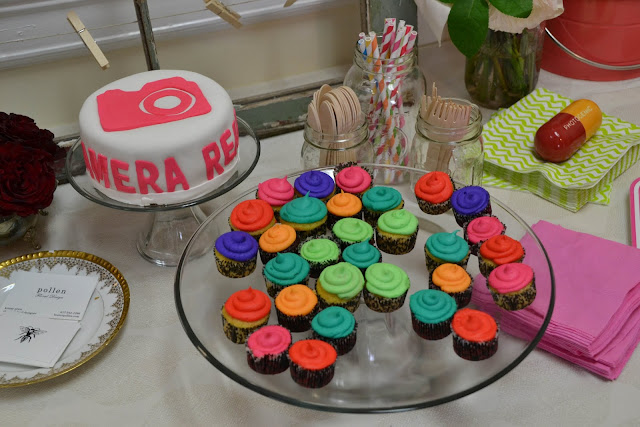
Gulu Gulu Cafe in Salem, and was fantastic - wraps, a cheese plate, and fruit with yogurt and granola. So yummy. Later in the day there were cupcakes and a cute Camera Ready cake provided by Sarah Miller Cakes.
While we ate, Kate took professional shots of all of us.
I was so nervous. The ladies in my corner all bonded over our terror of being behind the camera, but honestly, it wasn't too bad. Kate was awesome. She was fun, gave great direction, and made me feel MUCH more comfortable than I ever thought I ever would. If we ever get professional pics done, we're going back to Salem to see her. (The below 3 photos were taken by the fabulous
Kate Drew Miller.)
After lunch, we went back to practicing. First we hung out in her studio and practiced taking pictures of all her awesome stuff. This is a nice way of saying we picked up whatever we wanted to photograph - her antique typewriter, teal flying pig, stack of old cameras - it was all fair game! Poor thing probably spent hours putting it back the way it was before we came in. Here are a few of my best shots.
Then we paired up and went outside to practice taking pictures of each other. I went out with
Melissa and Ashley - two super fun gals.
 |
| Kate caught Melissa and I taking Ashley's picture in the stairwell! |
Then, to make sure we were completely well-rounded, we did a DIY project to practice telling a story with our pictures.
For the Makers provided us with little projects to do. The idea is really pretty awesome. Want to do a project, but have no idea where to start or what to buy? They'll send you everything you need in a cute little bag. Then go to their website for the instructions. This would make birthday parties or vacation bible schools
much easier!
We ended the day by bringing out our laptops and learning the basics of Lightroom, an Adobe photo editing program. I've had fun playing with it since coming home and love the fact that they give you a 30 day trial to see how you like it.
I'm so SO glad I took the Camera Ready class and can't wait to really use what I learned. Kate and Ash will be teaching classes all over the place -
find them on Facebook or check out
their website to see if they'll be in your area.
Disclaimer: I received a blogger rate for this class in return for posting about my day. All opinions are my own...and I would have posted about it anyway. :)


