
If you live in New England, you totally understand the need for a little relief from the weather. It's been a long, rough, winter...and they got 10 more inches of snow last night. Thank goodness both of us got out of dodge before the storm. When I left Boston on Saturday, the temperature was 29 degrees. When I hopped of the plane in Raleigh, it was a beautiful 75 degrees and sunny! Perfect!
Since it was 1pm when I landed, Mom, Dad, and I decided to stop by Cameron Village to have some lunch and shop a little. We had lunch at Cafe Carolina - one of their favorites. They both had salads, and I decided to have a grilled ham and cheese sandwich. Their salads looked amaaazing (I should have had a salad) and came with a sweet potato biscuit. These sweet potato biscuits are out of this world...sweet, potatoey, and soft with just the right amount of brown sugar on the top. Mmmm. My grilled ham & cheese sandwich was a little disappointing, as the cheese wasn't reeeeally melted, but the bread was good enough that I wasn't upset. Mom said, "They must like their grilled cheeses rare here." :) Har har har...


After going in a few shops, we decided to swing by the Fresh Market. I'm embarrassed to say I'd never been there before! The Fresh Market is an elegant grocery store full of gourmet foods, snacks, beautiful produce and flowers, and an entire back wall of any prepared food you could think of.

 |
| There was an entire section of different kinds of rotisserie chickens! |
 |
| Dad smelling the coffee beans... |

 |
| Rows and rows of candies, nuts, and trail mix. |
 |
| The grossest thing in the store. Eww... |
 |
| See little Riley in the top corner? Such a trooper... |

Doug is a FANTASTIC artist. His work is astounding (as you can see here). I love his work so much that last Christmas I decided I wanted one of his prints - a rooster in front of a barn door - to go in our kitchen. I never thought we'd own an original Doug Strickland work...but now we do!
About a year ago, Doug had a massive stroke and is now finally able to start painting again. He did this piece while still battling double vision. Yep...that's how amazing he is. More than just a talented artist, he and Glenda are just two of the sweetest people you'll ever meet. You should go to his website and check out some of his work. Most of his work is available in prints too.
Later, Mom and I headed up to her new sewing room so I could get some real instruction on quilting. If you've been following along, my friend Laura and I decided we should know how to do this, so I've been giving hand-sewing a try. It was my first time using a sewing machine, so we decided to start from scratch on a project in case I did a terrible job. :) Thankfully I didn't make a mess of the project, so this will be made into a bag (hopefully) by the end of the week!
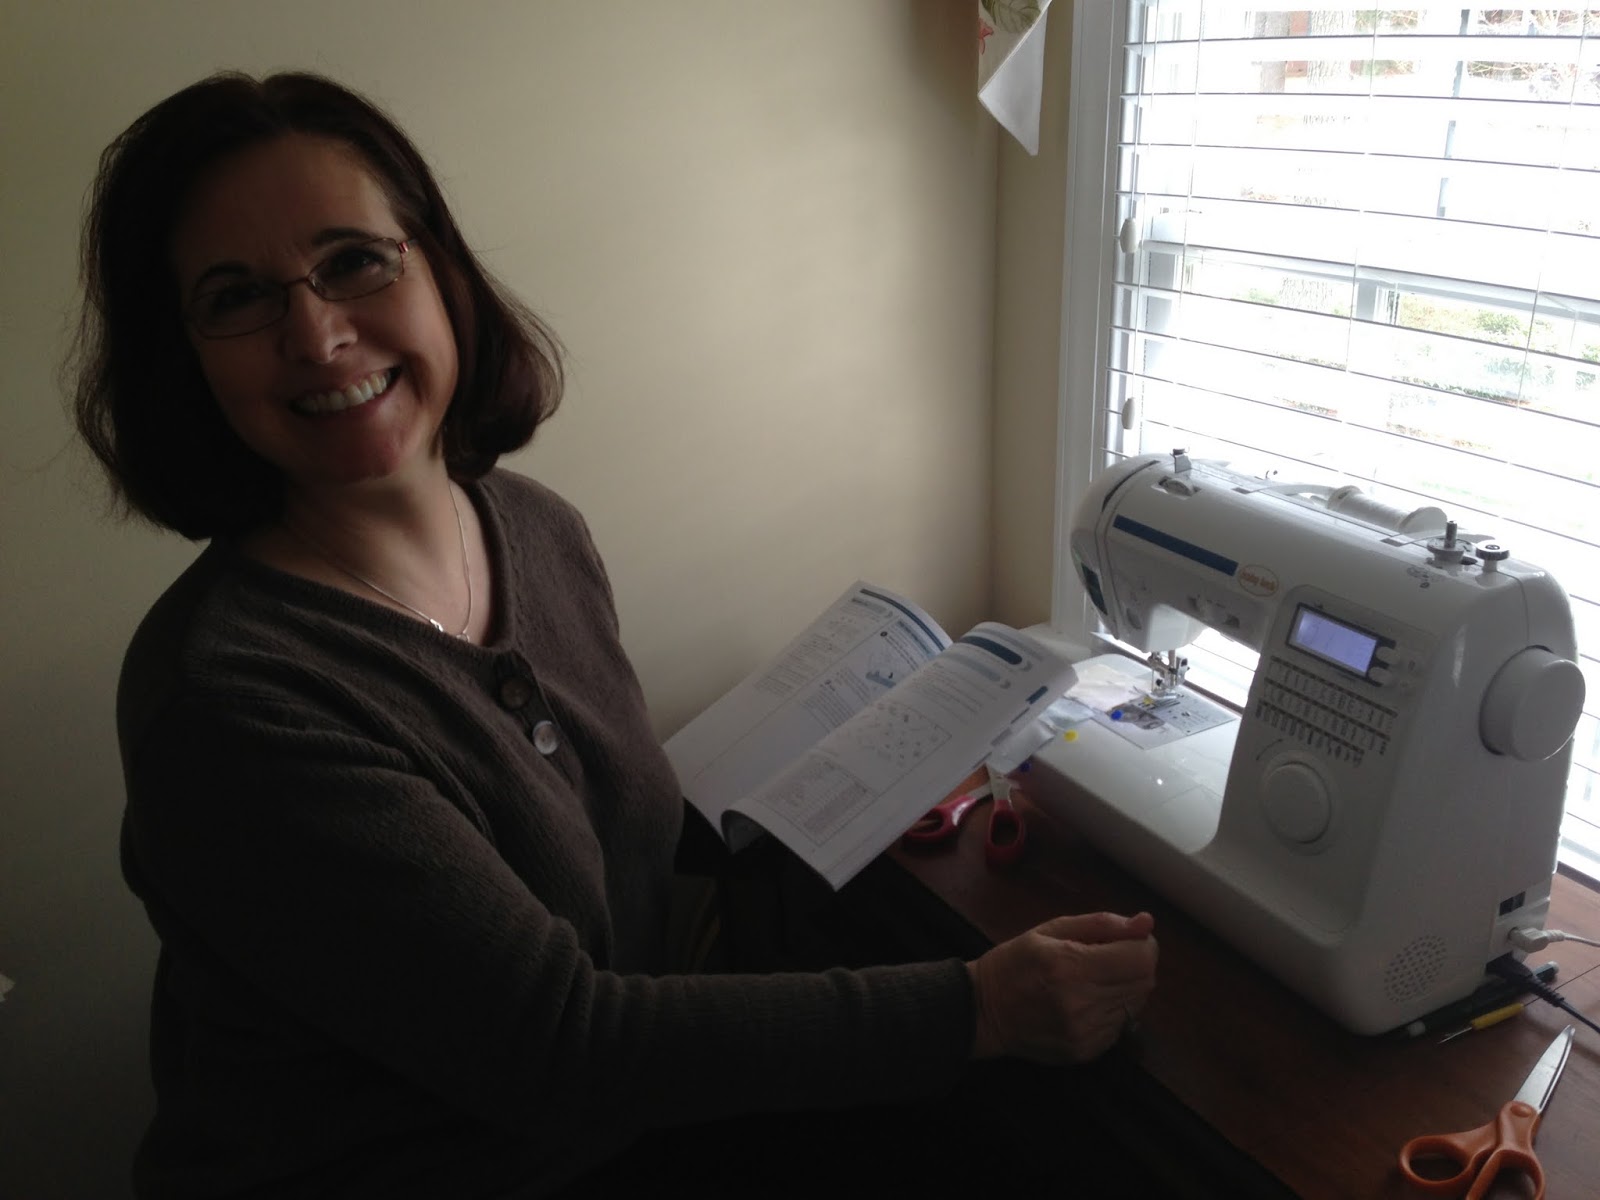

 |
| My first 9-patch! |

Later that afternoon I got a surprise text from my friend, Mary, who was only a few exits away from Smithfield on I-95. She hadn't realized she would be passing by so close to us on her way back from dropping her husband off at part 2 of basic training, so Dad and I jumped in the car and met her at a gas station to say a quick hello. I hadn't met their little boy (Manny) yet, so I couldn't WAIT! He's such a sweetheart and had fun walking around the gas station (which also happened to be a feed store that sells tricycles and some crazy Apple-Moonshine Jelly). Only in Johnston County...


 |
| He had a fantastic time stacking the boxes of trash bags. Then in one swoop of his arm, took the entire shelf out. |

I couldn't have asked for a more relaxing first two days home...stay tuned for more fun!


