Showing posts with label pretzels. Show all posts

Wednesday, March 11, 2015

Chocolate Covered Pretzel Giraffes

Last weekend, I threw a baby shower for my friend Barb who is having twin girls (read more about it here)!  Barb and her husband, Dave, are two of the nicest and most hilarious people we know, so we were excited to help celebrate their little ones with their Boston friends!

In true pregnant lady fashion, these babies have nick-names already.  "Baby A" and "Baby B", how the doctors refer to the babies, wasn't cutting it, so they opted with giraffe and monkey (characteristics mirrored by the girls' actions already).  I decided to make some chocolate covered pretzels look like giraffes, and mini cupcakes with monkeys on them to reflect these names.  I found a pin with lots of chocolate covered pretzels decorated like animals while browsing one day, and knew these needed to be at the shower.


To make them, you'll need:

Log pretzels
Yellow candy coat morsels (or yellow melting chocolate)
Fondant (or brown and yellow colored candies)
Brown and yellow icing dye (if you're using fondant)
Paintbrushs
Water
Food-safe markers (brown and black) - optional

First, dip your pretzels and lay them on wax paper to dry.

I found the candy coating dots coated thinly, so I did two coats on the pretzels.  The more the better...mmmmmmm.


Next for the faces!

You'll need one large yellow circle, two small yellow circles, and one brown circle to begin the face.  Lightly pinch one section of each small yellow circle to form the ears (see below).  Wet a paintbrush and put a dab of water where the brown circle and two ears should go.  This will help the fondant stick to each other.


Now for the details - the eyes, horns and markings!

Roll two small brown pieces for the horns and two white balls for the eyes.  Use the food-safe markers to finish the eyes, nose markings, and dots on the face!

Leave these to dry before attaching to the pretzel.
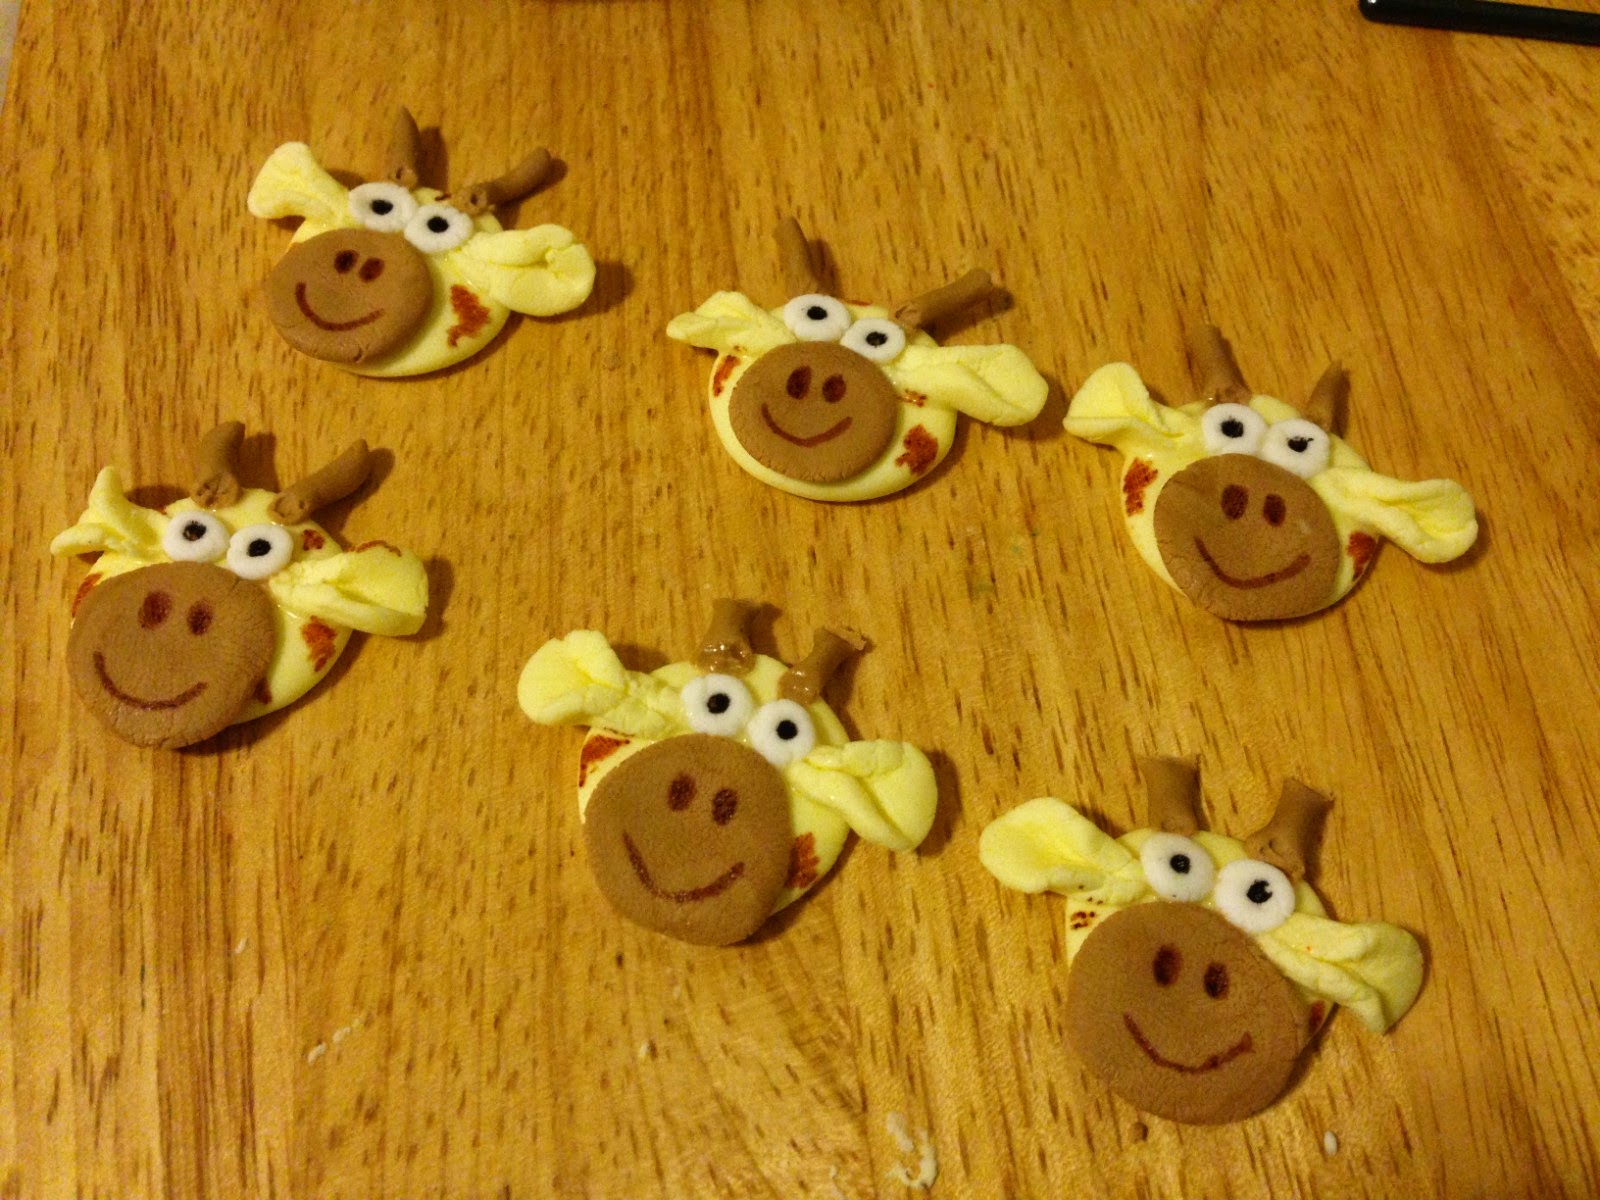

Paint on giraffe spots using slightly watered-down brown icing gel.  Let dry.


Then attach the faces with a little melted chocolate!


Enjoy!


Thursday, June 20, 2013

Chocolate Covered Trail Mix - Better than Moose Munch!

This past weekend, I was asked to make some chocolate covered strawberries to bring for a game night.  Since I was going to have lots of melted chocolate around the house anyway, I decided to recreate a treat someone brought us last Christmas.  The treat came from the Fresh Market in Raleigh and is similar to Moose Munch...only more delicious. How could there be a more a more fantastic chocolate trail mix treat, you may wonder?  Just wait...

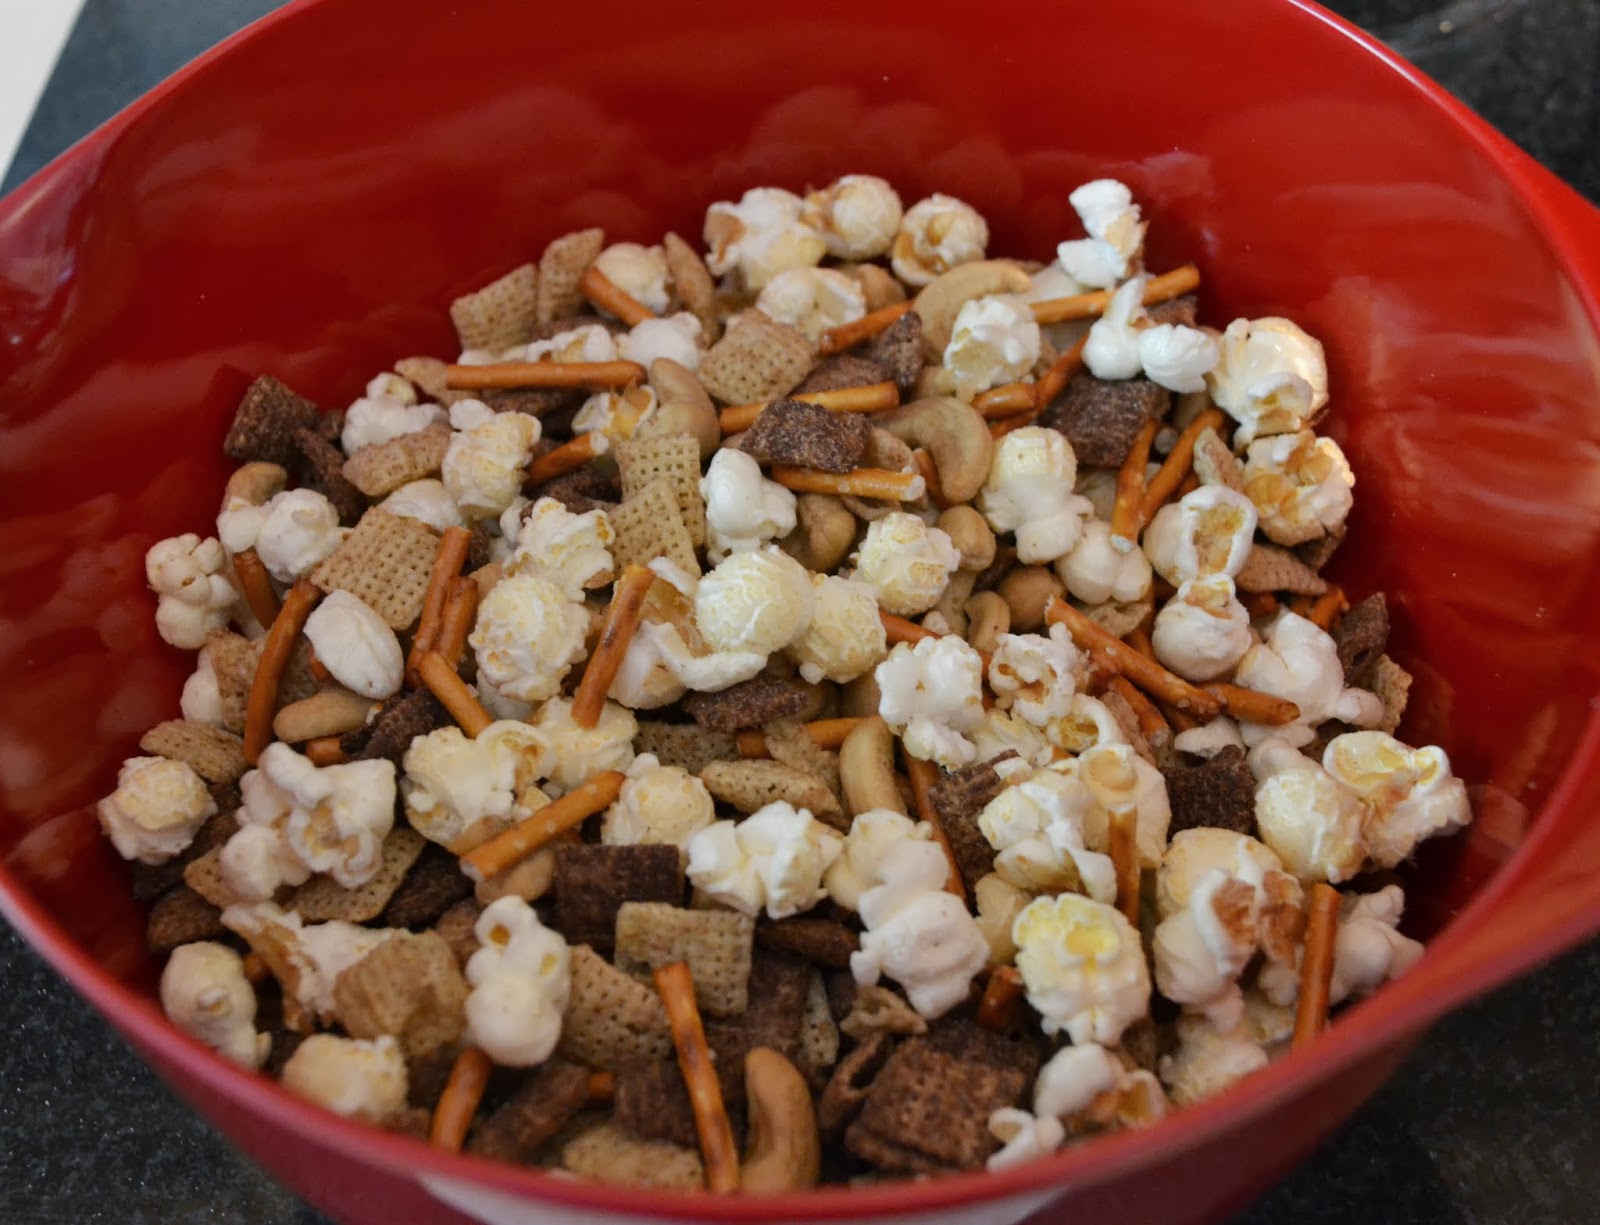
This sweet snack has chocolate Chex, cashews, pretzels, popcorn, mini marshmallows, white chocolate, and dark chocolate.  Holy yum.  This recipe makes a lot of mix (as it should!) so it's perfect for parties, gifts, or just a nice way to solidify yourself as the most popular person in the office.


Ingredients

5.5 cups Chocolate Chex
1.5 cups pretzel sticks (broken in half)
6 cups kettle corn
1.5 cups cashews
1/2 cup white chocolate chips + 1.5 more melted
2-2.5 cups mini marshmallows
2.5 bags Ghiradelli Milk Chocolate Chips (11.5 ounce each)

Directions
Combine Chex, pretzels, pop corn, cashews, 1/2 cup white chocolate chips, and mini marshmallows in a large bowl.


Melt 2 11.5 ounce bags of milk chocolate chips in double boiler.


Then coat trail mix with melted milk chocolate.  There's two ways you can do this.  The first would be to pour the chocolate into the bowl and stir to coat.  Then spread the mixture evenly onto two large cookie sheets and let sit.

I decided to evenly pour the mix on two large cookie sheets.  Then I drizzled the chocolate on top, and moved it around with a spatula until everything was coated.

Then melt another half bag of milk chocolate chips and 1.5 cups white chocolate chips in different pots.  Drizzle white chocolate over the mix while spread on the cookie sheets.  Then drizzle the milk chocolate on to finish.  Let these set until chocolate completely hardens.  It's best to let the chocolate set at room temperature before setting in the refrigerator.  You want the chocolate to set at the temperature it'll be served at.


Once chocolate sets, break the mix into pieces.  Serve on a platter or section up into little baggies for gifts.  You're going to love it.

for fantastic recipes, cake how-to's, and diy projects!


And while you at it...you should make some chocolate covered strawberries with the other 1/2 bag of milk chocolate.  :)


Follow on Bloglovin